The Irresistible Appeal of Smashburgers
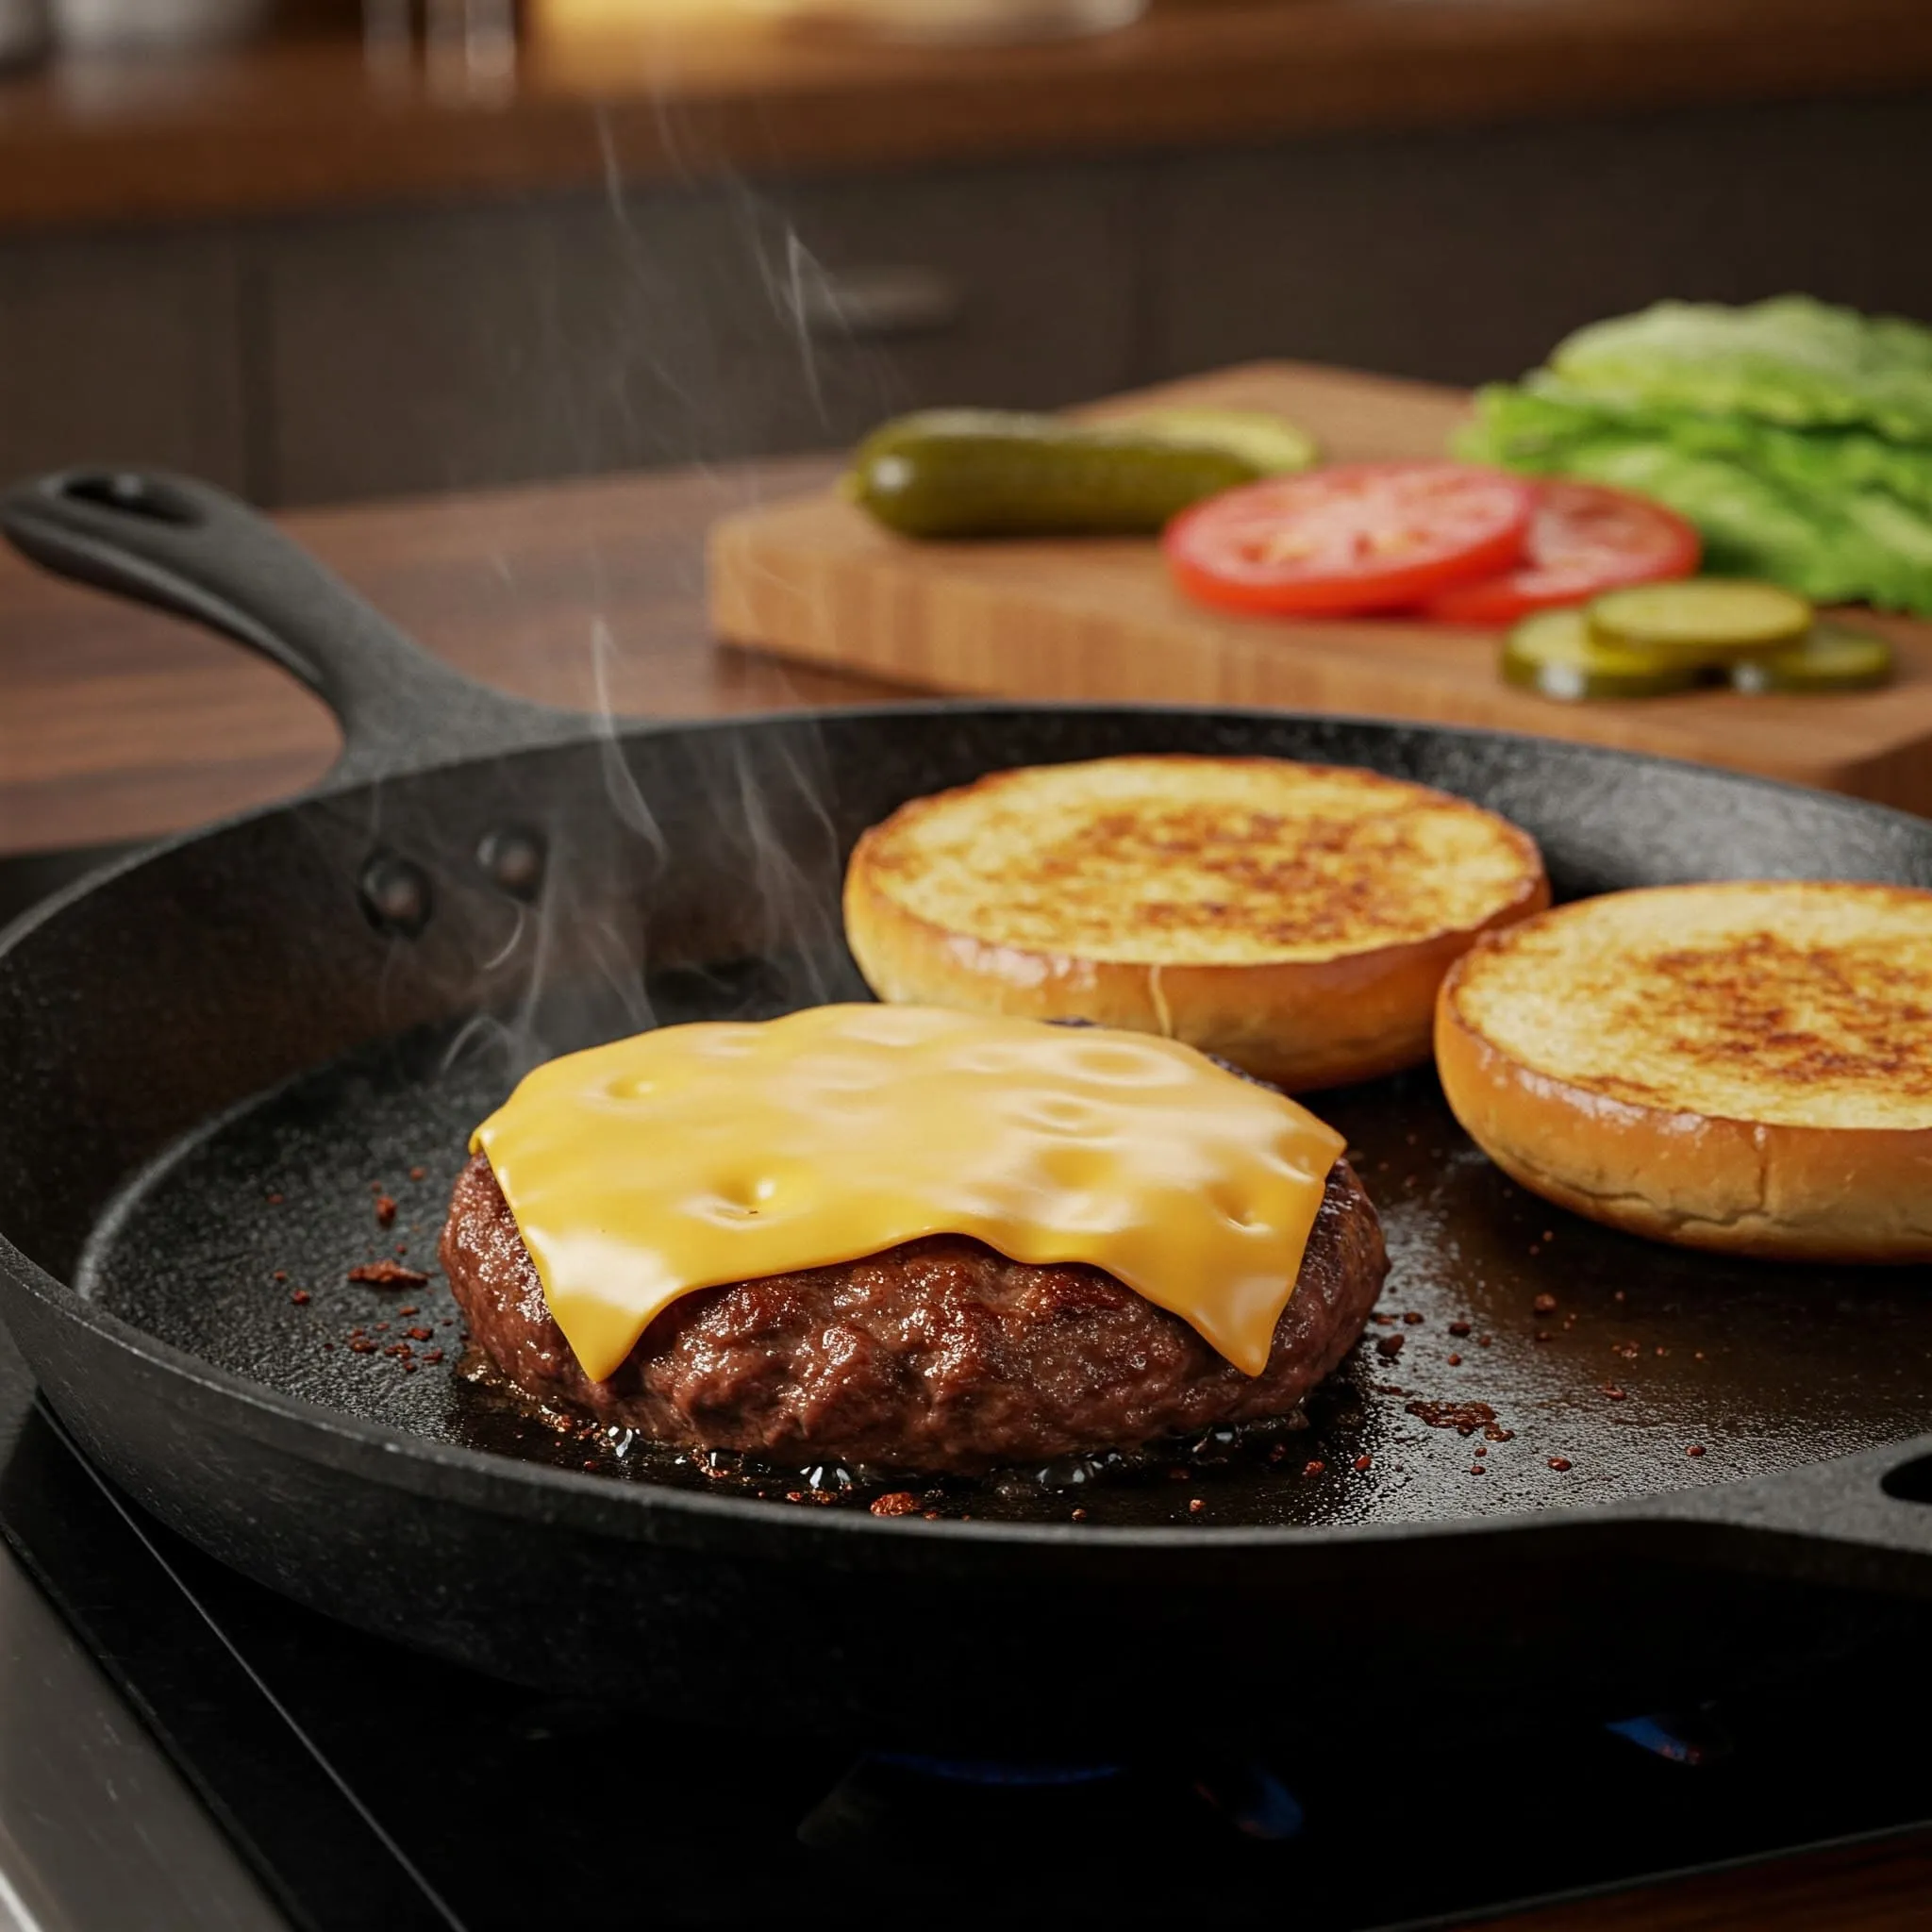
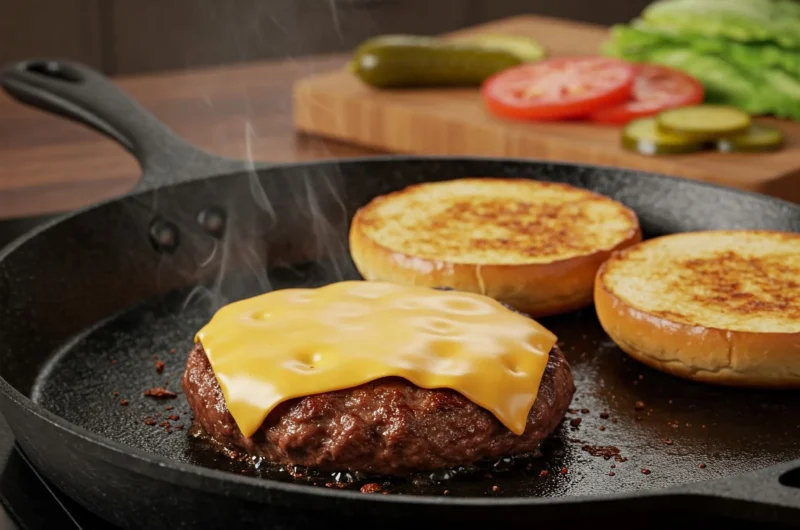
There’s something special about a smashburger—a crispy crust, a juicy center, and melty cheese on a toasted bun. Unlike regular burgers, smashburgers use a simple but powerful technique. Pressing the patty onto a hot surface creates a golden-brown crust that locks in flavor.
This burger style, popularized by Shake Shack and Five Guys, is now a favorite in home kitchens. The best part? You don’t need a restaurant to enjoy it. With the right ingredients and method, you can make a perfect smashburger at home.
In this guide, I’ll show you how to do it step by step. Get ready to impress your taste buds and level up your burger game! 🍔🔥
Jump to RecipeWhy Smashburgers Are Better Than Regular Burgers
_11zon")
What Makes Smashburgers Unique?
Smashburgers stand out because of their crispy edges, juicy center, and intense flavor. Unlike thick patties, which rely on internal cooking for juiciness, smashburgers get their signature taste from a quick, high-heat sear. As the patty is pressed onto the hot surface, it maximizes surface contact, creating a delicious crust while locking in the beef’s natural juices.
Moreover, smashburgers are all about simplicity. There’s no need for fancy seasonings or complicated cooking techniques. With just a high-quality beef patty, salt, and heat, you can achieve a crispy, juicy, and flavorful burger.
Why Smashburgers Are Trending
In recent years, smashburgers have become a must-try burger style, especially thanks to popular chains like Shake Shack, Five Guys, and In-N-Out. These restaurants have perfected the art of thin, crispy patties stacked with gooey cheese and simple toppings, making them a favorite among burger lovers.
Furthermore, the trend has quickly spread to home kitchens, as more people attempt to recreate the restaurant-style experience at home without the high price tag. On top of that, social media has played a huge role in fueling the craze. With countless videos showcasing the smash technique, sizzling patties, and melty cheese pulls, it’s no surprise that smashburgers have become a viral sensation.
The Maillard Reaction: The Science Behind That Delicious Crust
One of the biggest secrets behind the perfect smashburger is the Maillard reaction. When beef hits a scorching-hot surface, its natural proteins and sugars react, creating deep, complex flavors and a crispy brown crust. The more surface area exposed to heat, the better the flavor.
As a result, smashing the patty enhances this browning effect, which explains why smashburgers have a richer, more concentrated beefy taste compared to traditional burgers. Consequently, you get a burger that’s crispy on the outside, tender on the inside, and bursting with umami goodness.
💡 Pro Tip: For the best crust, always use a cast-iron skillet or griddle preheated to high heat. The hotter the surface, the better the sear!
The Secret to a Perfect Smashburger: Ingredients & Tools
A perfect smashburger isn’t just about technique—it’s also about using the right ingredients and tools. Without them, you might end up with a dry, bland burger instead of one that’s crispy, juicy, and packed with flavor. Let’s break down exactly what you need to achieve restaurant-quality results at home.
Best Beef Blend for Smashburgers: The Key to Juiciness
The beef you choose makes all the difference. For the best results, use 80/20 ground beef—this means 80% lean meat and 20% fat. The fat is essential for keeping the burger juicy and flavorful, while the lean portion ensures a good sear.
Additionally, fresh beef is always better than frozen. Freshly ground beef has a looser texture, which allows for a better crust formation when smashed. If you can, buy coarsely ground chuck from a butcher or grind your own meat at home.
💡 Pro Tip: Avoid overhandling the beef. The more you press and shape it before cooking, the tougher it will be. Simply form loose meatballs and let the smashing do the work!
Choosing the Perfect Bun: The Foundation of a Great Burger
The bun is just as important as the patty. After all, it holds everything together! Two of the best options for smashburgers are:
- Brioche Bun: Buttery, slightly sweet, and soft, this bun adds richness to the burger while still being sturdy.
- Potato Bun: Soft, slightly chewy, and absorbent, this bun holds up well against juicy burgers and sauces.
Regardless of which one you choose, toasting is non-negotiable. A lightly buttered and toasted bun prevents sogginess and adds a slight crunch that enhances every bite.
💡 Pro Tip: Toast your buns on the same skillet after smashing the patties. This way, they soak up the delicious beef juices for even more flavor!
Essential Tools for Success: Cooking Like a Pro
Using the right tools makes the process easier and ensures you get that signature crispy crust and juicy interior. Here’s what you need:
- Cast Iron Skillet or Griddle: Retains heat incredibly well, ensuring an even sear for the perfect Maillard reaction.
- Burger Press or Heavy Spatula: A strong, flat spatula (or an actual burger press) is necessary to smash the patty properly. Avoid slotted spatulas—they won’t apply enough pressure.
- Parchment Paper: Placing a piece of parchment between the spatula and the patty prevents sticking and ensures an even smash.
- Metal Scraper/Thin Spatula: Helps lift the patty without losing that crispy crust.
💡 Pro Tip: If you don’t have a burger press, a small saucepan or even a mason jar wrapped in foil can work as a smashing tool!
With the right beef, the perfect bun, and essential tools, you’ll be well on your way to making the ultimate smashburger at home. Next, let’s dive into the step-by-step method to achieve that restaurant-quality burger! 🍔🔥
Pro Tips for Getting That Irresistible Crispy Crust
Achieving that golden, ultra-crispy crust is what separates a good smashburger from an irresistible, restaurant-quality one. The secret? Heat, technique, and timing. Follow these expert tips, and you’ll be making smashburgers so good, you’ll never go back to regular burgers again.

Why High Heat Is Crucial: Preheating for Maximum Crispiness
The most important factor in getting that crispy crust is heat—high, consistent, and intense. A lukewarm skillet won’t create the Maillard reaction, which is the key to that beautiful sear.
To ensure the perfect crust:
🔥 Use cast iron or a griddle: These retain heat much better than nonstick pans.
🔥 Preheat for at least 5 minutes: The surface should be scorching hot before the beef touches it. You should hear an instant, loud sizzle when the patty hits the skillet.
🔥 No oil needed: The beef releases enough fat as it cooks, so adding oil can interfere with the crust formation.
💡 Pro Tip: To test if your skillet is hot enough, flick a few drops of water onto the surface. If they evaporate instantly, you’re ready to smash!
Smashing Technique: Applying Pressure the Right Way
Smashing your burger properly is what creates that perfectly thin patty with crispy edges. However, there’s a right and wrong way to do it.
✔️ Use firm, even pressure: Press straight down with a metal spatula, burger press, or even a small saucepan. You want to flatten the beef as much as possible to maximize surface contact.
✔️ Do it immediately: Smash within the first 10 seconds of placing the patty on the skillet. If you wait too long, the fat will start to render, and the beef won’t hold its shape.
✔️ One smash is enough: Press once and hold for 5–10 seconds. Avoid pressing multiple times, as this can squeeze out juices and dry out the burger.
💡 Pro Tip: Place a small piece of parchment paper between the patty and your spatula to prevent sticking.
Timing Matters: How Long to Cook Each Side for Perfection
Once the burger is smashed, the next challenge is timing it just right. Overcooking can dry out the meat, while flipping too soon prevents a proper crust from forming.
⏳ First side: Let the patty cook for 45–60 seconds without touching it. This is when the Maillard reaction happens, creating that deep, golden crust.
⏳ Flip once: Use a metal spatula to scrape under the patty and flip it in one quick motion. If it sticks, give it a few more seconds—it’s not ready yet.
⏳ Second side: Cook for 30–45 seconds. Since the first side did most of the work, this side only needs a short sear.
💡 Pro Tip: Add cheese immediately after flipping so it melts perfectly by the time the burger is done.
With these pro tips, you’ll master the art of the crispy, juicy smashburger that rivals the best burger joints. Now that you know the secrets, let’s put them into action with the step-by-step cooking method! 🍔🔥
Step-by-Step Guide: How to Make the Perfect Smashburger
How to Make the Perfect Smashburger at Home
Course: Main CourseCuisine: AmericanDifficulty: Easy2
servings10
minutes5
minutes650
kcalIngredients
For the Patties:
250g (½ lb) 80/20 ground beef (high-fat content for juiciness)
½ tsp salt
¼ tsp black pepperFor the Bun & Toppings:
2 brioche or potato burger buns (toasted)
2 slices American cheese
2 tbsp burger sauce (mayo, ketchup, mustard mix)
4 slices pickles
2 tbsp butter (for toasting buns)For Cooking:
1 cast iron skillet or griddle
1 metal spatula (for smashing)
1 small piece parchment paper (to prevent sticking)
Directions
- Step 1: Prepare the Ingredients
Divide the ground beef into two equal balls (around 125g/4.5 oz each). Do not overwork the meat.
Lightly season the tops with salt and pepper. - Step 2: Preheat Your Cooking Surface
Place a cast iron skillet or griddle on high heat for at least 5 minutes until smoking hot. - Step 3: Smash & Sear
Place one beef ball onto the skillet. Immediately press it down using a spatula and parchment paper, holding for 10 seconds until very thin.
Cook without touching for 45–60 seconds until the edges are crispy.
- Step 4: Flip & Add Cheese
Scrape and flip the patty in one quick motion.
Place cheese on top and cook for 30–45 seconds. - Step 5: Assemble the Smashburger
Butter the buns and toast them until golden.
Spread burger sauce on the bottom bun, add pickles, and place the patty with melted cheese on top.
Notes
- For extra crispiness, don’t overcrowd the pan—cook one patty at a time.
Want more flavor? Try adding grilled onions or a second patty for a double smashburger.
No cast iron? Use a heavy-bottomed stainless steel pan instead.
Now that you know the secrets to creating the perfect smashburger, it’s time to bring your cooking skills to the next level. Imagine biting into a burger with a crispy, caramelized crust, and a juicy, tender center that will have everyone asking for seconds. Don’t wait any longer—grab your ingredients, fire up the skillet, and make your next meal unforgettable!
Ready to make your own smashburger masterpiece?
Take action now and try this recipe at home! Share your creations with us on social media and tag us—let’s see who can make the crispiest, juiciest smashburger! 🍔✨
Plus, for more recipes, tips, and exclusive content, sign up for our newsletter and get access to new recipes directly in your inbox. Happy cooking!