If you’ve ever wanted to bake your own bread but felt intimidated by complicated recipes, a beginner sourdough recipe is the perfect place to start. Sourdough is a timeless, flavorful bread that’s made with just a few simple ingredients: flour, water, salt, and a sourdough starter. While the process may seem daunting at first, making sourdough at home is surprisingly easy and incredibly rewarding.
Unlike store-bought bread, which is often filled with preservatives and artificial additives, homemade sourdough is a wholesome, natural alternative. With a little patience and practice, you can create a delicious, tangy loaf that’s full of flavor and perfect for sandwiches, toasts, or simply enjoying with a pat of butter.
In this post, we’ll guide you through a simple, step-by-step sourdough recipe that’s perfect for beginners. Whether you’re new to baking or looking to refine your skills, this beginner sourdough recipe will have you baking perfect loaves in no time. So, roll up your sleeves and get ready to enjoy the satisfaction of baking your own sourdough bread from scratch!
Jump to RecipeWhy Sourdough Bread is the Best Choice for Beginners

Beginner sourdough recipe is made using naturally occurring yeast and bacteria, instead of commercial yeast. This traditional bread-making method has been around for thousands of years, offering a tangy flavor and chewy texture. Unlike store-bought bread, which often contains preservatives and artificial ingredients, sourdough is a more natural and wholesome option.
Home bakers love sourdough because it’s simple to make and offers the satisfaction of creating something from scratch. By making sourdough at home, you control the ingredients and the final product, making it a rewarding experience. With just a few basic tools and ingredients, beginners can dive into sourdough and bake their own perfect loaf.
Health Benefits of Beginner Sourdough Recipe
Sourdough is popular among health-conscious bakers because of its many health benefits. The natural fermentation process makes sourdough easier to digest than other types of bread. The bacteria and yeast in the sourdough starter help break down gluten and phytic acid, making the bread gentler on your digestive system.
Sourdough also has a lower glycemic index than many commercial breads, meaning it impacts blood sugar levels more slowly. This makes it a better option for people who want to manage their blood sugar. The long fermentation process also increases the availability of nutrients like B vitamins, calcium, and magnesium, making them easier for your body to absorb.
When you bake sourdough at home, you can avoid unnecessary additives and preservatives. This improves the bread’s nutritional value and helps you avoid harmful ingredients commonly found in mass-produced bread.
The natural fermentation process improves digestibility and nutrient absorption. Learn more in The Perfect Loaf’s Beginner Guide, which details the science behind sourdough’s health perks.
Cost-Effective and Fun
Making sourdough bread at home is both cost-effective and enjoyable. With just a few basic ingredients—flour, water, salt, and a sourdough starter—you can bake several loaves of artisan-quality bread for a fraction of the price of store-bought alternatives. The initial investment in ingredients is minimal, and once you have a sourdough starter, you can use it for months or even years, lowering the cost of each loaf.
Beyond the savings, sourdough baking is a fun and fulfilling hobby, especially for beginners. Unlike other breads that require complex equipment or techniques, sourdough is easy to make once you learn the basic steps. Nurturing your starter, watching it grow, and seeing the dough rise are all rewarding experiences. You can also experiment with different types of flour, hydration levels, and proofing times to create a loaf that’s uniquely yours.
Sourdough bread requires minimal hands-on time. Though the dough needs time to ferment and rise, the work involved is simple—just mixing, folding, and baking. This makes sourdough an ideal baking project for beginners who want to try bread-making without feeling overwhelmed.
With minimal ingredients, sourdough is affordable and rewarding. Pantry Mama’s Simple Sourdough Bread shows how to maximize your starter’s lifespan for endless loaves.
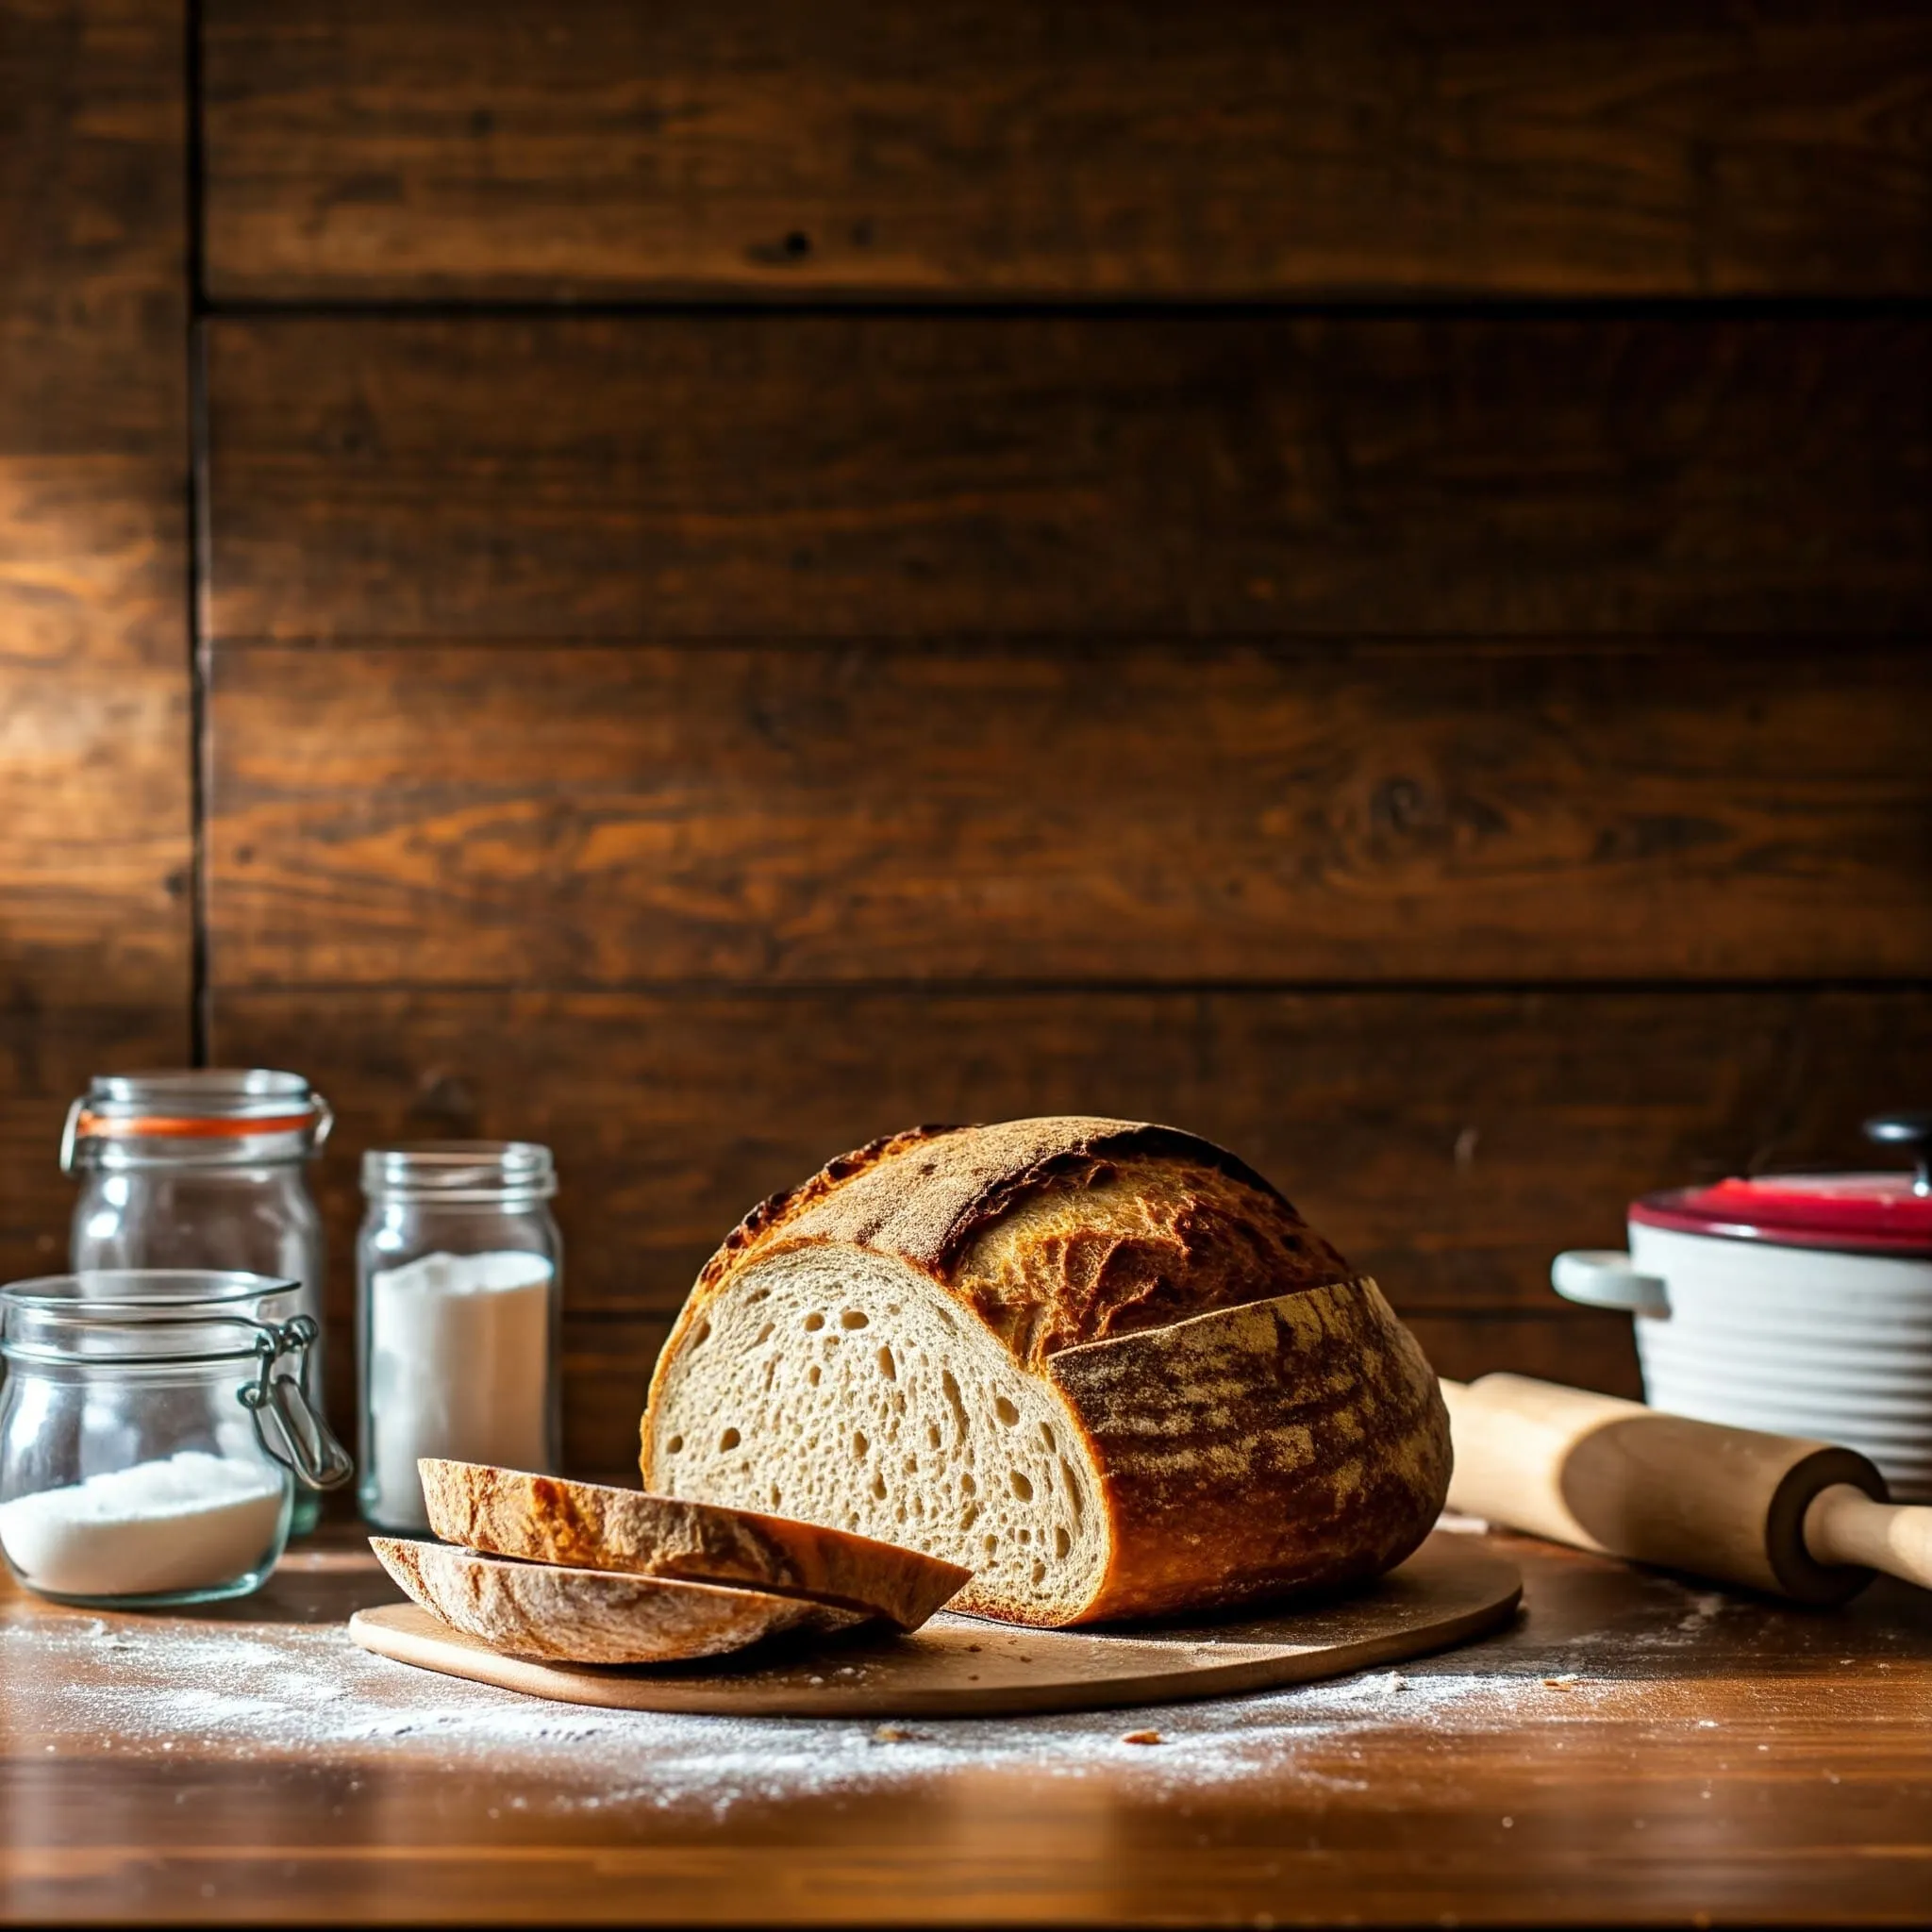
The Essential Ingredients for a Perfect Beginner Sourdough Recipe Loaf
_11zon")
Sourdough Starter –Beginner Sourdough Recipe–
A sourdough starter is a mixture of flour and water that naturally attracts wild yeast and bacteria from the environment. This starter is essential for making sourdough bread because it’s responsible for the rise and flavor of the dough. The wild yeast ferments the dough, producing carbon dioxide that makes it rise, while the bacteria contribute to the tangy taste. You can either make your own starter by mixing flour and water and letting it ferment over a few days, or purchase one from a bakery or online. Making your own starter gives you more control over the bread’s flavor, but either option will work for your recipe.
Create or maintain your starter with tips from Little Spoon Farm’s Guide, which includes troubleshooting common issues.
Flour Choices –Beginner Sourdough Recipe–
The type of flour you use significantly affects the texture and flavor of your sourdough bread. All-purpose flour is the most commonly used and produces a soft, light loaf. However, for a more robust flavor, try incorporating whole wheat flour or rye flour. Whole wheat flour creates a denser, nuttier bread, while rye flour contributes to a tangier taste and a more compact crumb. Combining different types of flour allows you to experiment and find the flavor and texture you prefer. Consider using a mix of flours for a more complex loaf.
Water and Salt –Beginner Sourdough Recipe–
Though they may seem simple, water and salt are key to the success of your sourdough. Water temperature is important for activating the yeast and bacteria in your starter. Use water that’s around 75°F (24°C), as water that’s too hot can kill the yeast, while cold water can slow down fermentation. Additionally, salt plays a critical role in enhancing flavor and controlling the fermentation process. It strengthens the gluten and helps preserve the bread. Adding salt too early can interfere with yeast activity, so it’s best to mix it into the dough after the flour and water are combined.
Experiment with all-purpose, whole wheat, or rye flour. Amy Bakes Bread’s Recipe demonstrates how different flours affect texture and flavor.
Additional Tools for Success –Beginner Sourdough Recipe–
In addition to ingredients, the right tools can make sourdough baking easier and more efficient. A Dutch oven is highly recommended for baking sourdough. It traps steam, which helps develop a crispy, golden crust. If you don’t have one, a heavy pot with a lid or a baking stone can be alternatives. A proofing basket or banneton helps the dough hold its shape while it rises, and it also leaves a beautiful pattern on the bread. Finally, a bread lame or a sharp knife is necessary for scoring the dough before baking. Scoring ensures even expansion in the oven and adds a decorative touch to your loaf.
Understanding the Sourdough Process: The Secret to a Perfect Loaf
Fermentation and Proofing
Fermentation is the key to a beginner sourdough recipe. It starts when you mix your starter with flour, water, and salt. The wild yeast and bacteria in the starter feed on the sugars in the flour. This produces carbon dioxide gas, causing the dough to rise. Fermentation is a slow process, often taking several hours or days. The longer the dough ferments, the more the flavors develop. This is what gives sourdough its tangy taste.
Proofing is the final rise before baking. After fermentation, shape the dough and let it proof for several hours in a warm environment. Proofing allows the dough to rise further, strengthening the gluten network. It affects both the texture and flavor. Longer proofing times lead to a lighter, airier loaf and more complex flavors. If the dough is under-proofed, the bread may be dense. Over-proofing can cause the dough to collapse.
Why Patience Pays Off
Making sourdough bread takes time, but it’s worth the wait. Unlike breads made with commercial yeast, sourdough relies on wild fermentation. This process takes time to develop flavor and texture. Rushing through the rise times may be tempting, but patience is key to success. The longer the dough rises, the more flavor it develops. The result is a bread with a deeper taste and chewy texture.
Allowing the dough to rest between stages is essential. This gives the yeast time to grow and flavors time to develop. Many bakers find that sourdough improves when allowed to ferment overnight. Proofing in the fridge for 12–24 hours also enhances the flavor. Slower rises lead to a tangier bread and lighter texture. So, take your time and don’t rush the process.
Baking Techniques
Baking sourdough is an art. One of the most important techniques is scoring the dough. Scoring creates shallow cuts on the dough’s surface before baking. This helps the bread expand evenly during baking. It also adds a rustic, beautiful appearance. Without scoring, the bread may crack unpredictably.
Oven temperature and steam are crucial for perfect sourdough. Preheat the oven to 450°F (232°C) to ensure the dough bakes right away. This results in a crisp, golden crust. Steam helps keep the dough moist for the first 15–20 minutes of baking. This moisture allows the bread to expand, giving it a light, airy crumb. You can add steam by placing a pan of water at the bottom of the oven or using a Dutch oven.
Achieve a crispy crust with a Dutch oven and proper scoring. Sourdough Jesha’s Tutorial includes pro tips for oven steam and scoring patterns.
The final step is baking for the right amount of time. This ensures the bread is fully cooked inside and has a crispy crust. After baking, let the bread cool for at least an hour before slicing. This allows the flavors to settle and the texture to firm up.
The Ultimate Beginner Sourdough Recipe: Easy Steps for Perfect Bread
Course: BreadCuisine: FrenchDifficulty: Beginner1
servings20
minutes40
minutes200-250
kcalIngredients
500g all-purpose flour (or a mix of all-purpose and whole wheat flour)
350ml water (lukewarm)
100g sourdough starter (active and bubbly)
10g salt
Directions
- Mixing the Dough:
In a large bowl, combine the flour and salt. Add the sourdough starter and water, mixing until you have a shaggy dough. Knead for 5-10 minutes until smooth. - First Rise (Bulk Fermentation):
Cover the dough with a damp cloth and let it rise at room temperature for 4-6 hours. Fold the dough every 30 minutes for the first 2 hours to help develop gluten.
- Shaping the Dough:
After the first rise, turn the dough onto a floured surface and shape it into a round loaf or your preferred shape. Place the shaped dough into a well-floured proofing basket or bowl. - Proofing:
Let the dough proof for 2-4 hours at room temperature or refrigerate it overnight for a slower rise, which enhances flavor. (1)_11zon")
- Preheat the Oven:
Preheat your oven to 450°F (232°C) and place a Dutch oven or baking stone inside to heat up. - Scoring the Dough:
Once the dough has finished proofing, carefully score the top of the loaf with a sharp knife or bread lame. This helps the bread expand evenly while baking. - Baking:
Place the dough in the preheated Dutch oven (or onto the baking stone) and bake for 30-35 minutes with the lid on (or with steam). After that, remove the lid and bake for an additional 10 minutes to achieve a golden, crispy crust.
- Cooling:
Remove the bread from the oven and allow it to cool on a wire rack for at least 1 hour before slicing.
Notes
- Make sure your sourdough starter is active before using it in this recipe.
If you prefer a tangier bread, you can extend the fermentation or proofing time.
Store your sourdough in a bread bag or paper bag to keep the crust crisp and fresh.
In conclusion, making a beginner sourdough recipe may seem intimidating at first, but with the right approach and a little patience, you can easily master the process. By using a simple starter, a few basic ingredients, and allowing the dough to ferment and proof slowly, you’ll create a delicious loaf that is both satisfying and rewarding. The natural fermentation process not only enhances the flavor but also provides a healthier and more cost-effective alternative to store-bought bread. Remember, the key to a perfect sourdough loaf is patience, practice, and the joy of baking something from scratch. Whether you’re baking for yourself or sharing with loved ones, homemade sourdough is sure to impress and become a staple in your kitchen. Happy baking!